
Journal
Anchoring a resin shed, and why an empty one moves
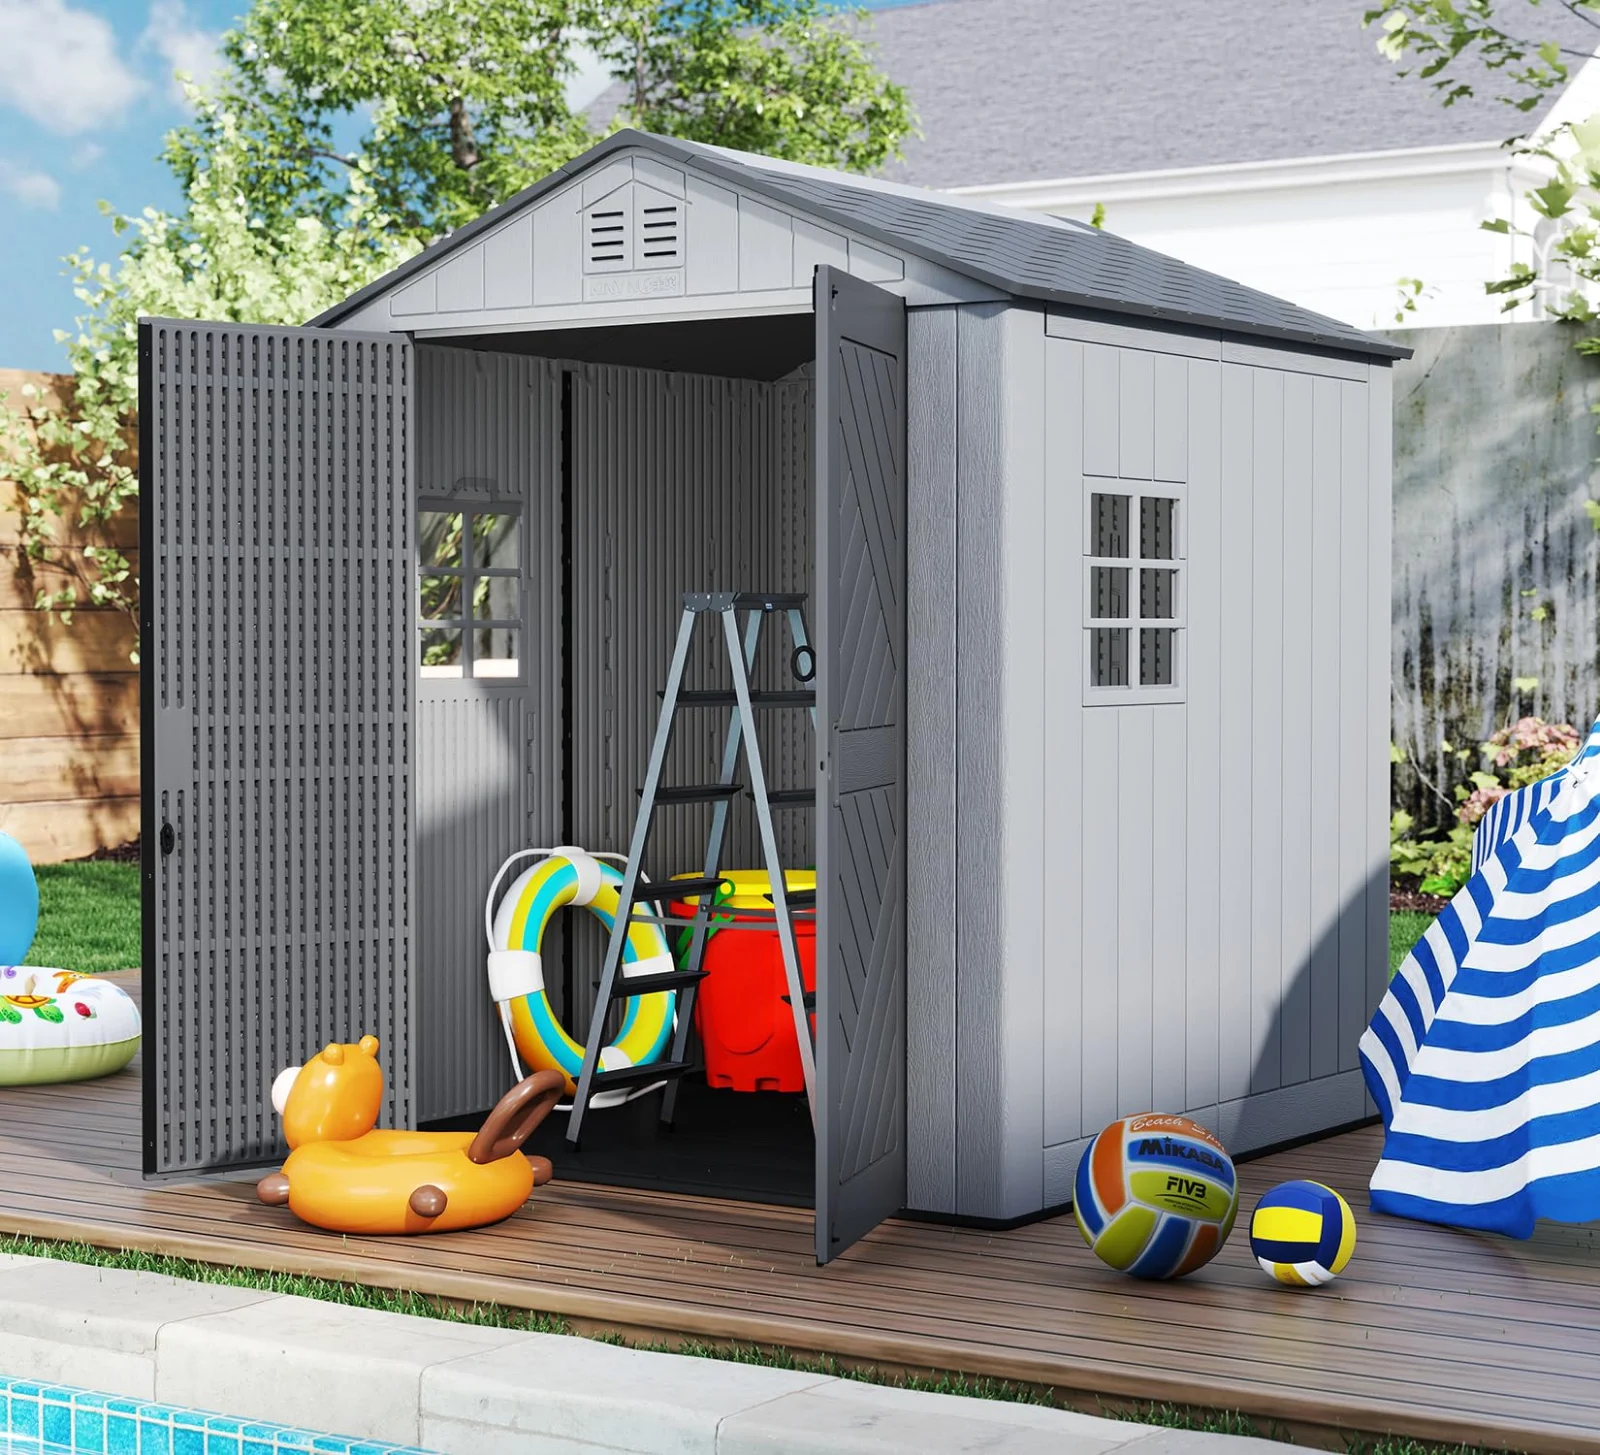
The lightest day is the most dangerous
The day your shed first arrives is the day it will move most easily because it is empty. A resin or double-wall HDPE box is light. Empty, it has a large flat side and very little weight holding it down. That combination makes wind, a push from a neighbor, or sudden gusts more likely to shove the unit than once it is full.
Every walk-in in this range is six feet deep and comes in three lengths along the wall. The 6 by 11 measures 71 by 130.2 by 70.8 inches outside. The 6 by 4 measures 71 by 41.5 by 70.8 inches. Panels can be awkward to handle. Assembly on the mid-size boxes takes about two hours. Walk-ins are a two-person job because the panels are six feet across and awkward rather than heavy.
Most of the cabinet-sized sheds and every walk-in ship with a floor pan. The floor pan has moulded anchor points. That pan makes handling easier during assembly and gives you a place to attach straps later. The box is easiest to move on the day it is empty. Plan anchoring and placement on the day it arrives, not after you load it up.
Three honest bases: slab, timber frame, compacted gravel
You need a base that matches the permanence you want and the work you will do. A poured slab is the most permanent option. It requires more preparation and is a heavier upfront job. In return you get a rigid, flat surface that resists settling and makes anchoring straightforward. A slab will keep the shed square over time and reduce door alignment problems.
A timber frame with a sheet on top is a middle path. It takes carpentry skills and careful leveling during build. The frame raises the shed off the ground and gives a platform that can be adjusted for pitch and drainage. You will spend more time constructing the frame than laying compacted gravel, but the result is lighter and easier to modify than concrete.
Compacted gravel costs less in heavy work and moves quicker to install. It provides drainage and a reasonably stable base if done properly. It will need occasional attention to keep it flat and packed. Turf is trouble. Grass and soft soil let the unit settle and tilt. Turf will shift under the floor pan, invite moisture against the base, and make door alignment a problem. Pick the base that fits how permanent you want the shed to be and how much maintenance you will accept.
Level matters more than you think
A quarter of an inch out across six feet shows up at the doors. Small differences in level translate into doors that stick, gaps that open, and panels that do not fit as intended. If the base is not flat the box will not sit square, and you will see it where the doors meet.
Before you start assembling panels, check the platform with a straight board and a spirit level. Use a board at least as long as the floor pan or a six-foot straight edge to span areas where panels will join. Place the board across the base in several positions, then lay the level on the board. Check both directions, front to back and side to side. If you find tilt or twist, correct it before you bring panels upright.
Make adjustments at the base, not at the panels. Shims and packed material under a timber frame or a compacted gravel bed are easier to tweak than trying to force the doors later. The floor pan will only sit square if what it stands on is flat. Take the short time to get the surface right and the rest of the job goes faster.
Anchor early, not late
The Federal Emergency Management Agency publishes a homeowner checklist called "Avoiding Hurricane Damage". FEMA advises anchoring storage sheds to a permanent foundation. It also notes that the straps and ground anchors used for manufactured homes can be used for outbuildings, especially small garden sheds. The checklist names trash cans, yard furniture and grills as windborne debris and suggests securing them to ground anchors or embedded posts.
For a light resin or HDPE shed this advice matters. Strap the unit down to the base. Use the moulded anchor points in the floor pan. Anchoring before the shed is full makes the anchors effective when the box is most vulnerable. Straps and anchors are practical ways to keep a low-weight unit from lifting or sliding.
Think about how windborne debris behaves. A shed with one large flat side presents a catching surface that straps need to resist. Anchors attached after the unit is packed can be harder to align and may leave gaps at the base. Install straps and make your anchor connections part of the initial build sequence. That way the first storm the shed sees will meet the anchoring you intended.
Water routes and the floor pan truth
Water runs downhill and finds the easiest route away from the structure. Roof shape and the site grade determine where rain ends up. The two largest walk-ins have a sloped roof and the smallest has a flat roof. Tall sizes are vented at the eaves, which helps air move through but does not replace a good site grade.
A floor pan is not a raft. It gives a defined bottom and a place to secure anchors, but it does not keep the unit floating above surface water. If rain pools around the base the pan can sit in wet ground and trap moisture against the shed. Standing the box an inch above the surrounding surface reduces that risk. That small rise encourages runoff away from the unit and makes it easier to hose or sweep water around the perimeter.
You want the site to shed water, not hold it. A slightly raised timber frame, a compacted gravel bed with a crown away from the walls, or a slab pitched to drain will all help. Vents at the eaves aid drying by moving air through tall units. Plan where runoff will go before you set the shed down and check that the floor pan sits clear of puddles.
The right order: mark, level, anchor, build, then fill
Start by marking where the unit will stand. Confirm the footprint matches the measurements we publish so panels meet where they should. Verify the base is level across both directions. Use a board and spirit level to make the checks before any panels go up.
Install anchors and straps while the floor pan is accessible. The pan has moulded anchor points for this purpose. Attach straps and ground connections now so you are not trying to secure the unit after it is full and harder to reach. Assemble the panels next. For mid-size boxes plan about two hours. Allow half a day for a walk-in and have somebody hold the far corner.
Only after anchors are in place and panels are assembled should you fill the shed. Filling first is what many people do and it is the wrong order. A loaded shed resists movement with its contents, but it may already be sitting crooked on an uneven base. Mark, level, anchor, build, then fill. Follow that sequence and the doors will line up, anchors will work, and the shed will behave like the shelter you intended.
Where a size comes up in this piece, its page carries the footprint and the door opening too.